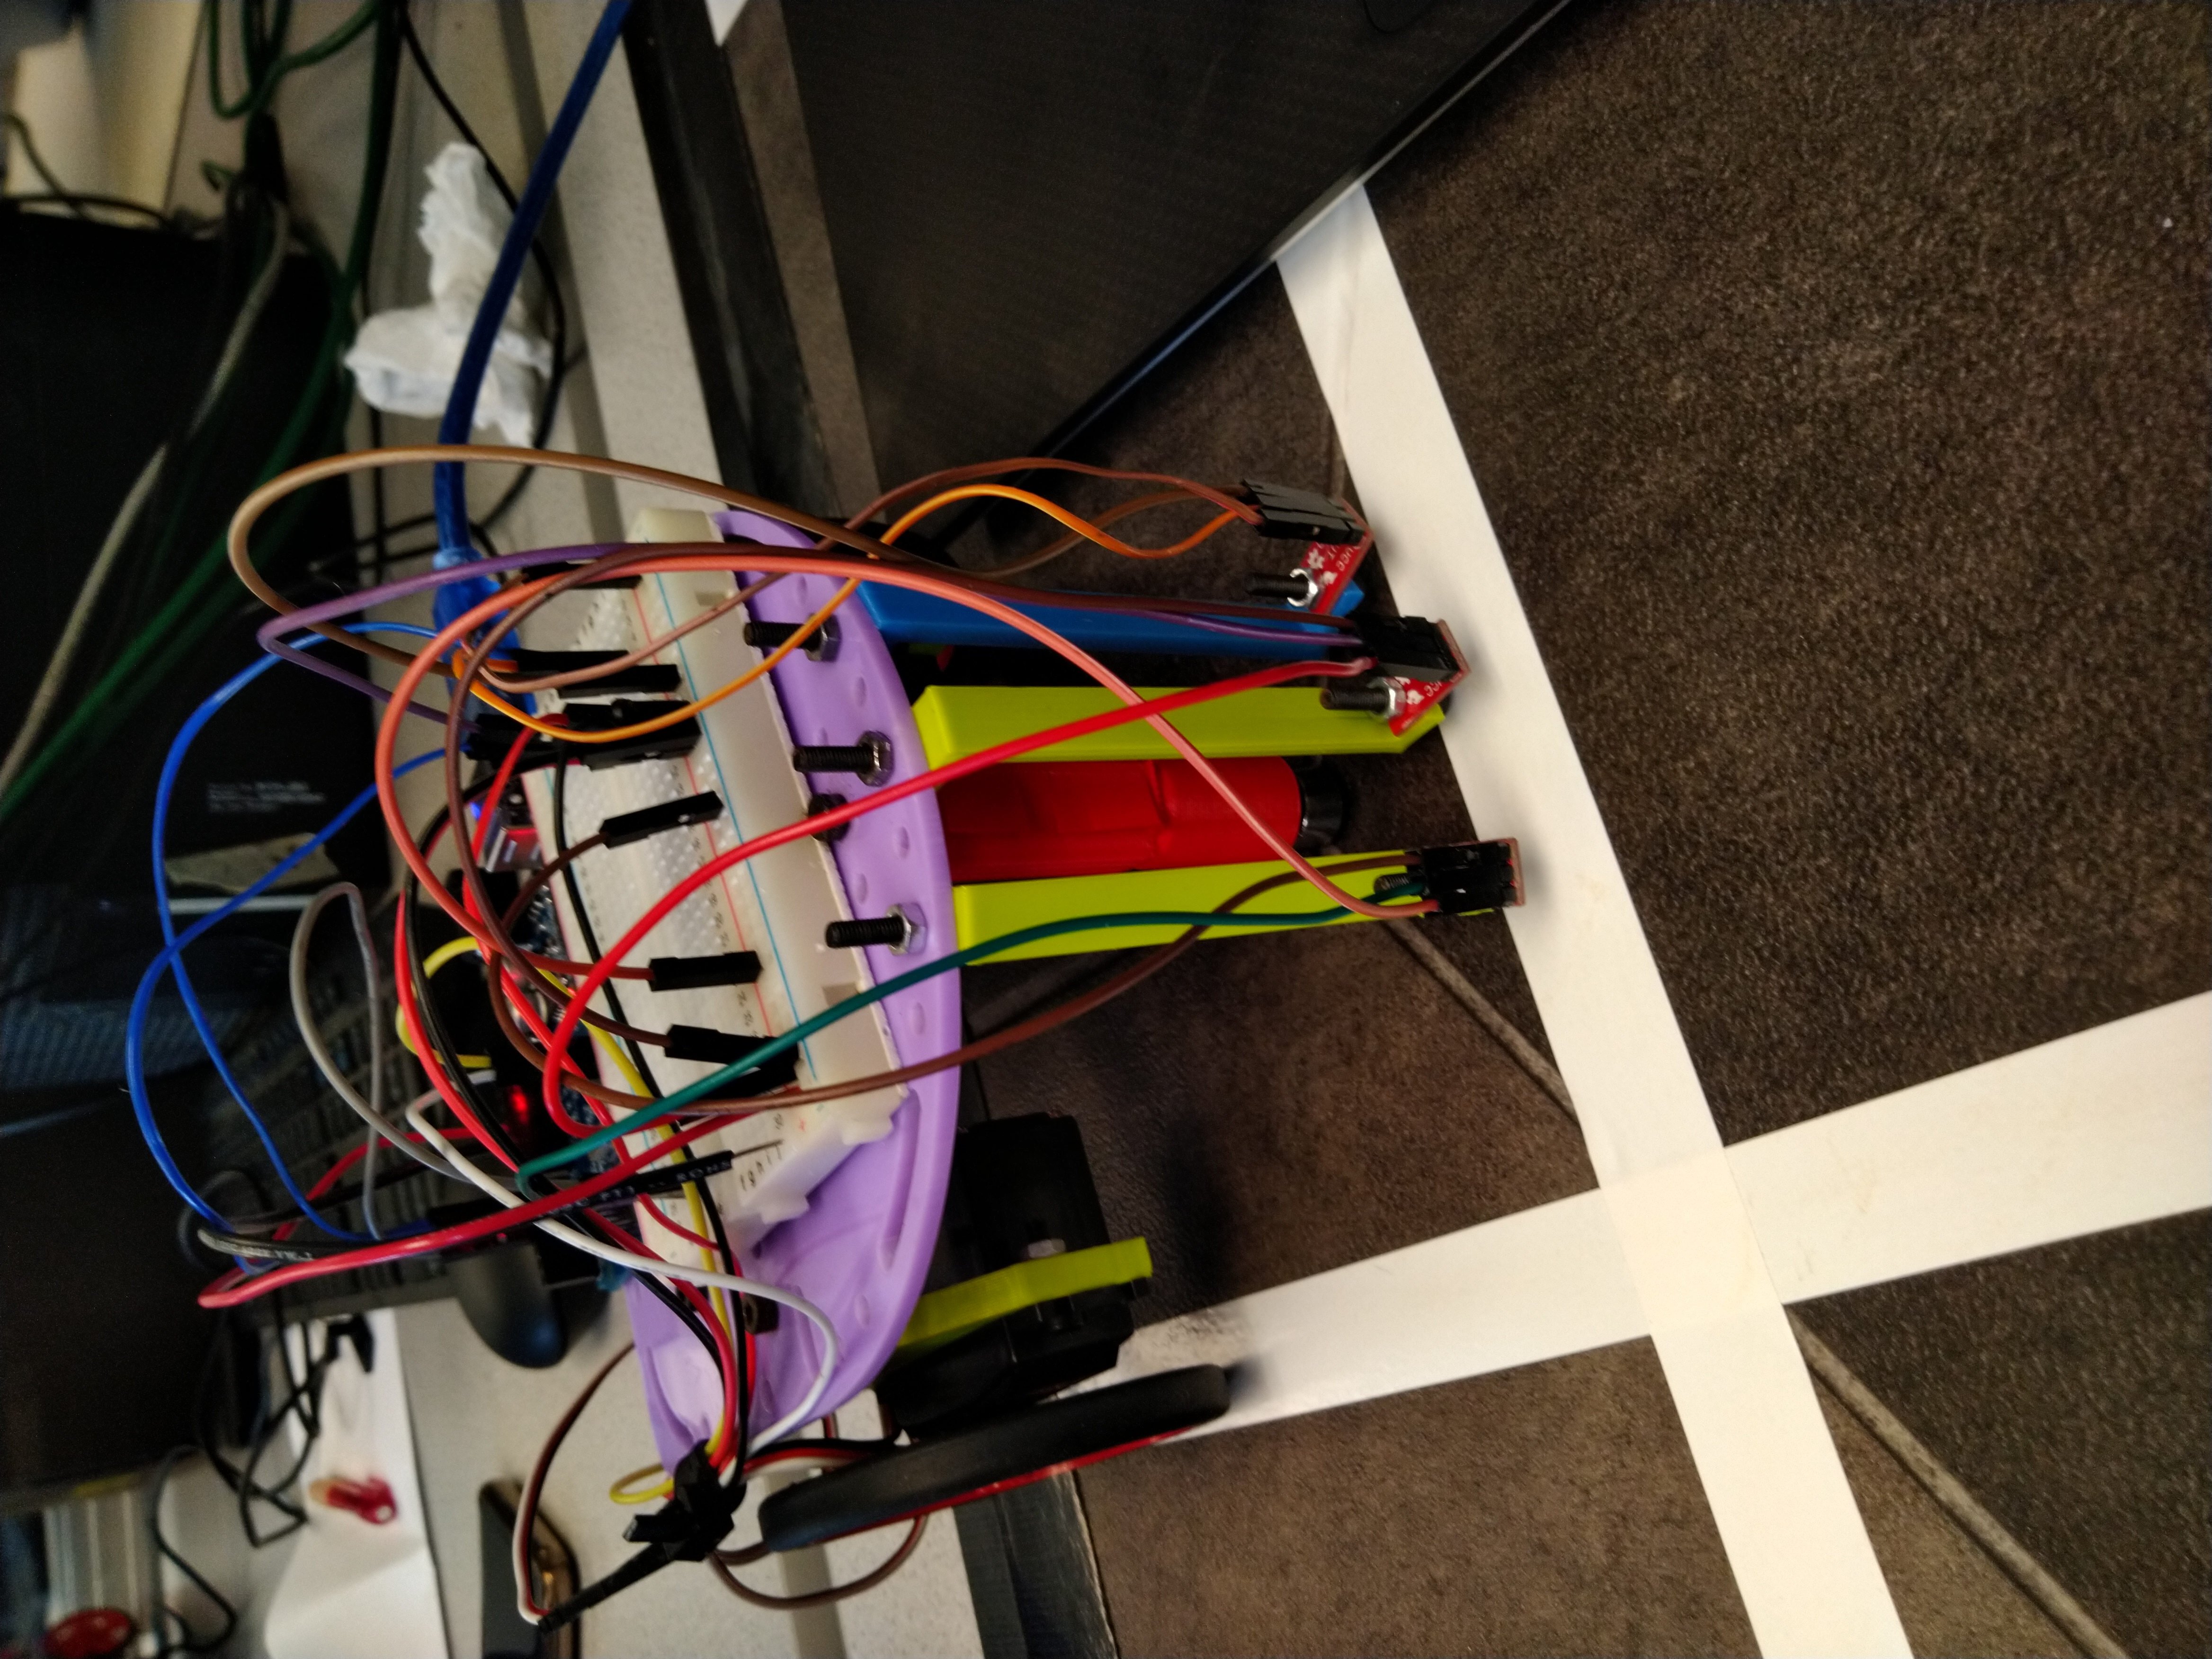
The goal of this milestone was to get our robot to traverse a line autonomously! We used a basic IR sensor on a grid consisting of white tape and a mixture of black and grey background. We observed the values reported back from the sensor which helped us to set the threshold for the color we wanted. Once we had this down, we made our robot follow a figure 8 by implementing a state machine, having the robot turn left or right at junctions depending on its state along the path. Gary did a great job!
To find our threshold for the white line path, we connected one of the IR sensors to a circuit and displayed the values on the Arduino IDE console. We were able to see how the sensor worked by increasing and decreasing the height to the surface and reading values off different colors. We saw that at higher levels, the sensor was reading high numbers because there were too many colors. It was therefore ideal to put the sensors at the lowest height as possible. Threshold came out to be 150. So for any number below that threshold, Gary sees that as white.
In order to implement a straight line, we first attached three line sensors to our robot.

      int thresh=150;  //sets our threshold
      // correct for veer right
      while(analogRead(centSen)>thresh && analogRead(rightSen)>thresh && analogRead(leftSen)<thresh){
        parallax1.write(94);
        parallax2.write(75);
      }
      //correct for veer left
      while(analogRead(centSen)>thresh && analogRead(rightSen)<thresh && analogRead(leftSen)>thresh){
        parallax1.write(115);
        parallax2.write(94);
      }
      // go straight
      while(analogRead(centSen)<thresh && analogRead(leftSen)>thresh && analogRead(rightSen)>thresh){
        parallax1.write(100);
        parallax2.write(90);
      }
This is video of how Gary follows a line. Go Gary!!
We implemented a finite state machine to do this, where each state is the current leg of the figure 8 that our robot is in. We then simply set up for each leg whether the next turn will be left or right upon reaching an intersection. The relevant code is shown below!
     follow_line();
     if(state==1 || state == 6 || state==7 || state==8){
        turn_left();

        if(state==8){
          state=1;
          } else{
            state++;
          }
     } else if (state==2 || state ==3 || state==4 || state==5){
        turn_right();
        state++;
As you can see from the code, we simply needed two 'if' statements, wherein we assign a left or right turn following the current state. The current state increments after each turn so this process can continue. At the end, state 8 (the last leg of the figure 8) will move on to state 1 to restart the process indefinitely. Below is a ~crazy~ video of our robot, Gary, doing some "sick" figure 8s!